In this post we’ll see how to create and deploy a static website using IaC using the following technologies:
- aws-cdk
- AWS CloudFormation
- AWS Lambda
- AWS S3
Have a static website
For the sake of simplicity we’ll use Create React App in a directory called my-project:
cd my-project
npx create-react-app frontend --template typescript
Create the static website content inside frontend/build directory with:
cd frontend && yarn buildAdd aws-cdk to the project
Create infrastructure project with aws-cdk:
mkdir infrastructure && cd infrastructure
npx cdk init --language typescript
Note that in order to deploy you need to have AWS API credentials configured. I prefer using AWS profiles, which you can set up using AWS CLI:
aws configure --profile my-profile-nameThe command will ask you couple of questions.
Please find the AWS Access Key Id and AWS Secret Access Key for your AWS account in AWS Web Console IAM section.
The AWS CLI stores configuration under ~/.aws (Linux or Mac) or %USERPROFILE%\.aws (Windows).
Please follow aws-cdk Getting Started to get more details.
Deploy static content deployment to S3 website
We will deploy static content to AWS using @aws-cdk/aws-s3-deployment package. We need to add it to our project:
cd infrastructure
npm i --save @aws-cdk/aws-s3-deployment
Next, let’s tell aws-cdk to deploy contents of frontend/build directory to AWS.
In our template we have InfrastructureStack available under lib/infrastructure-stack.ts.
Since it makes sense to have more focused CloudFormation stacks let’s rename it to FrontendStackStack.
import * as cdk from '@aws-cdk/core';
import * as s3 from '@aws-cdk/aws-s3'
import * as s3deploy from '@aws-cdk/aws-s3-deployment'
import * as cloudfront from '@aws-cdk/aws-cloudfront'
import * as path from 'path'

export class FrontendStack extends cdk.Stack {
  constructor(scope: cdk.Construct) {
    super(scope, 'FrontendStack');
  }
}
All files, which our static content consists of, will be stored on S3, so we need to create a bucket there:
super(scope, 'FrontendStack');

const frontBucket = new s3.Bucket(this, 'FrontendBucket', {
  websiteIndexDocument: 'index.html',
  publicReadAccess: true
});
Next, we need to tell @aws-cdk/aws-s3-deployment to push contents of frontent/build to the bucket created above:
new s3deploy.BucketDeployment(this, 'DeployWebsite', {
  sources: [s3deploy.Source.asset(
    path.join(__dirname, '..', '..', 'frontend', 'build')
  )],
  destinationBucket: frontBucket
});
Since our aws-cdk stack uses assets we need to bootstrap our AWS account before first deployment:
cd infrastructure
AWS_PROFILE=my-profile-name npx cdk bootstrap
Once the above command completes we can now finally deploy our website:
cd infrastructure
AWS_PROFILE=my-profile-name npm run cdk deploy
The command will prompt for confirmation before it creates the necessary security rules.
You will see what resources get created or modified while the command runs.
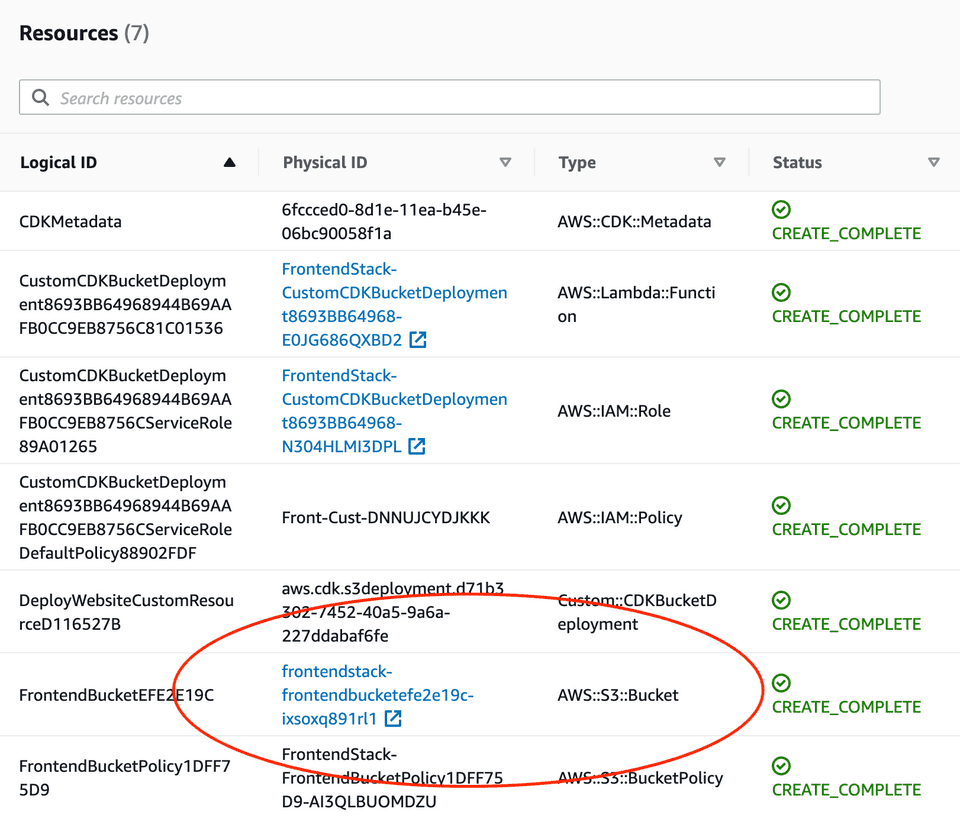
Afterwards all resources created are part of AWS CloudFormation FrontendStack stack.
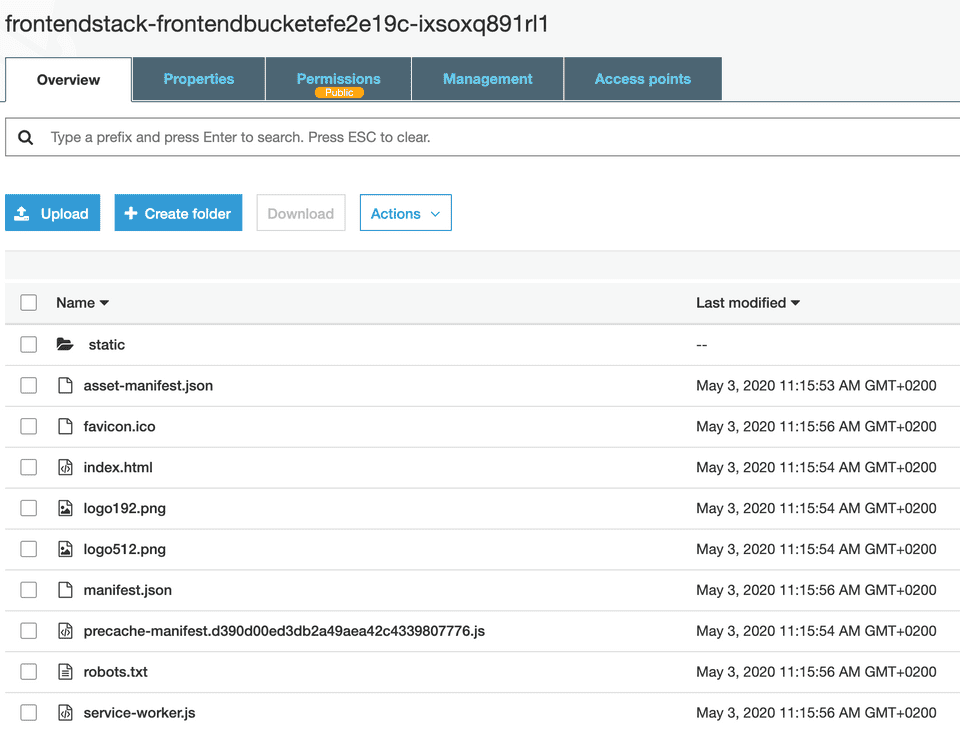
Most importantly the command copied all files to S3 Bucket, which in turn can host the website.
One you find the S3 bucket created in the AWS CloudFormation stack:
Your website is now available under a URL similar to:
http://frontendstack-frontendbucketefe2e19c-ixsoxq891rl1.s3-website.eu-central-1.amazonaws.com/
Improve performance of static website with CloudFront
The website loads files directly from S3 bucket. The S3 bucket, by default, lives inside a single AWS Region, which means that visitors from far away may suffer from subpar loading speeds.
For production setup we can use AWS CloudFront CDN, which distributes our content across over 100 locations around the globe.
Using this solution with @aws-cdk/aws-s3-deployment is a piece of cake:
const distribution = new cloudfront.CloudFrontWebDistribution(this, 'Distribution', {
  originConfigs: [{
    s3OriginSource: {
      s3BucketSource: frontBucket
    },
    behaviors : [ {isDefaultBehavior: true}]
  }]
});

new cdk.CfnOutput(this, 'DistributionDomainName', {
  value: distribution.domainName
})

new s3deploy.BucketDeployment(this, 'DeployWebsite', {
  sources: [s3deploy.Source.asset(
      path.join(__dirname, '..', '..', 'frontend', 'build')
  )],
  destinationBucket: frontBucket,
  distribution: distribution,
});
After you update the stack with AWS_PROFILE=my-profile-name npm run cdk deploy you will find a new CloudFront distribution created.
Note that it make take few minutes to complete.
We added CfnOutput to make it easier to find the CloudFront distribution autogenerated domain name.
Outputs:
FrontendStack.DistributionDomainName = d3a9wcc4fxw2d.cloudfront.net
Now the static website uses global content delivery network!
You can find full example used in this post in the Github repository

